My coffee kicking in, I was ready to get a blog post finished this morning. I realized I had several in the queue here, all various food and wine pairing posts from the past month or so. Which to finish? Well, I had a pretty good photo for this, a definite nod in favor of getting this one done. There's also a good backstory to this one, a "Twitter success story" of sorts. Made me think of Matt of Hoot N Annie fame exhorting wineries to embrace social media more...and to actually be social on social media, such as in this post.
The Twitter story starts with Randall Grahm, whose title per his Twitter bio @RandallGrahm is "Founder, Winemaker, Terroirist/Vinarchist and Prez-for-Life" for Bonny Doon Vineyard. Despite having well over 300,000 followers, Randall still manages to be very personal and engaging on Twitter. I noted a tweet one morning about some olive oil he was producing, which piqued my curiousity (we go through EVOO about the same rate as wine here!).
.@cookingchat The style of the oil is lightly peppery in the Tuscan style but also some creamy richness as you'd find in Liguria.
— Randall Grahm (@RandallGrahm) December 21, 2013 As you can see, Randall quickly chimed in with some interesting notes about their EVOO. This must have been lingering in my mind a bit as I perused the section of "big, bold reds" at Pairings. I was looking for something from that department, in the twenty-something dollar range, to serve with our sirloin steak that night. I was planning to prepare my go-to garlic/cumin rub on the steak, so was thinking a zin or syrah would be good to pick up the spice element. There were a number of good contenders waiting to be plucked from the shelf, but the nod went to the 2010 Bonny Doon Le Pousseur Syrah.Now, typically if I think I might blog about a wine or wine pairing, I take a few rough notes that evening, to be cleaned up and elaborated upon later. But this tale started on Twitter, so in the spirit of that medium, I'm going to share my raw, unedited notes with just a few extra notes. Here goes:
first impressions
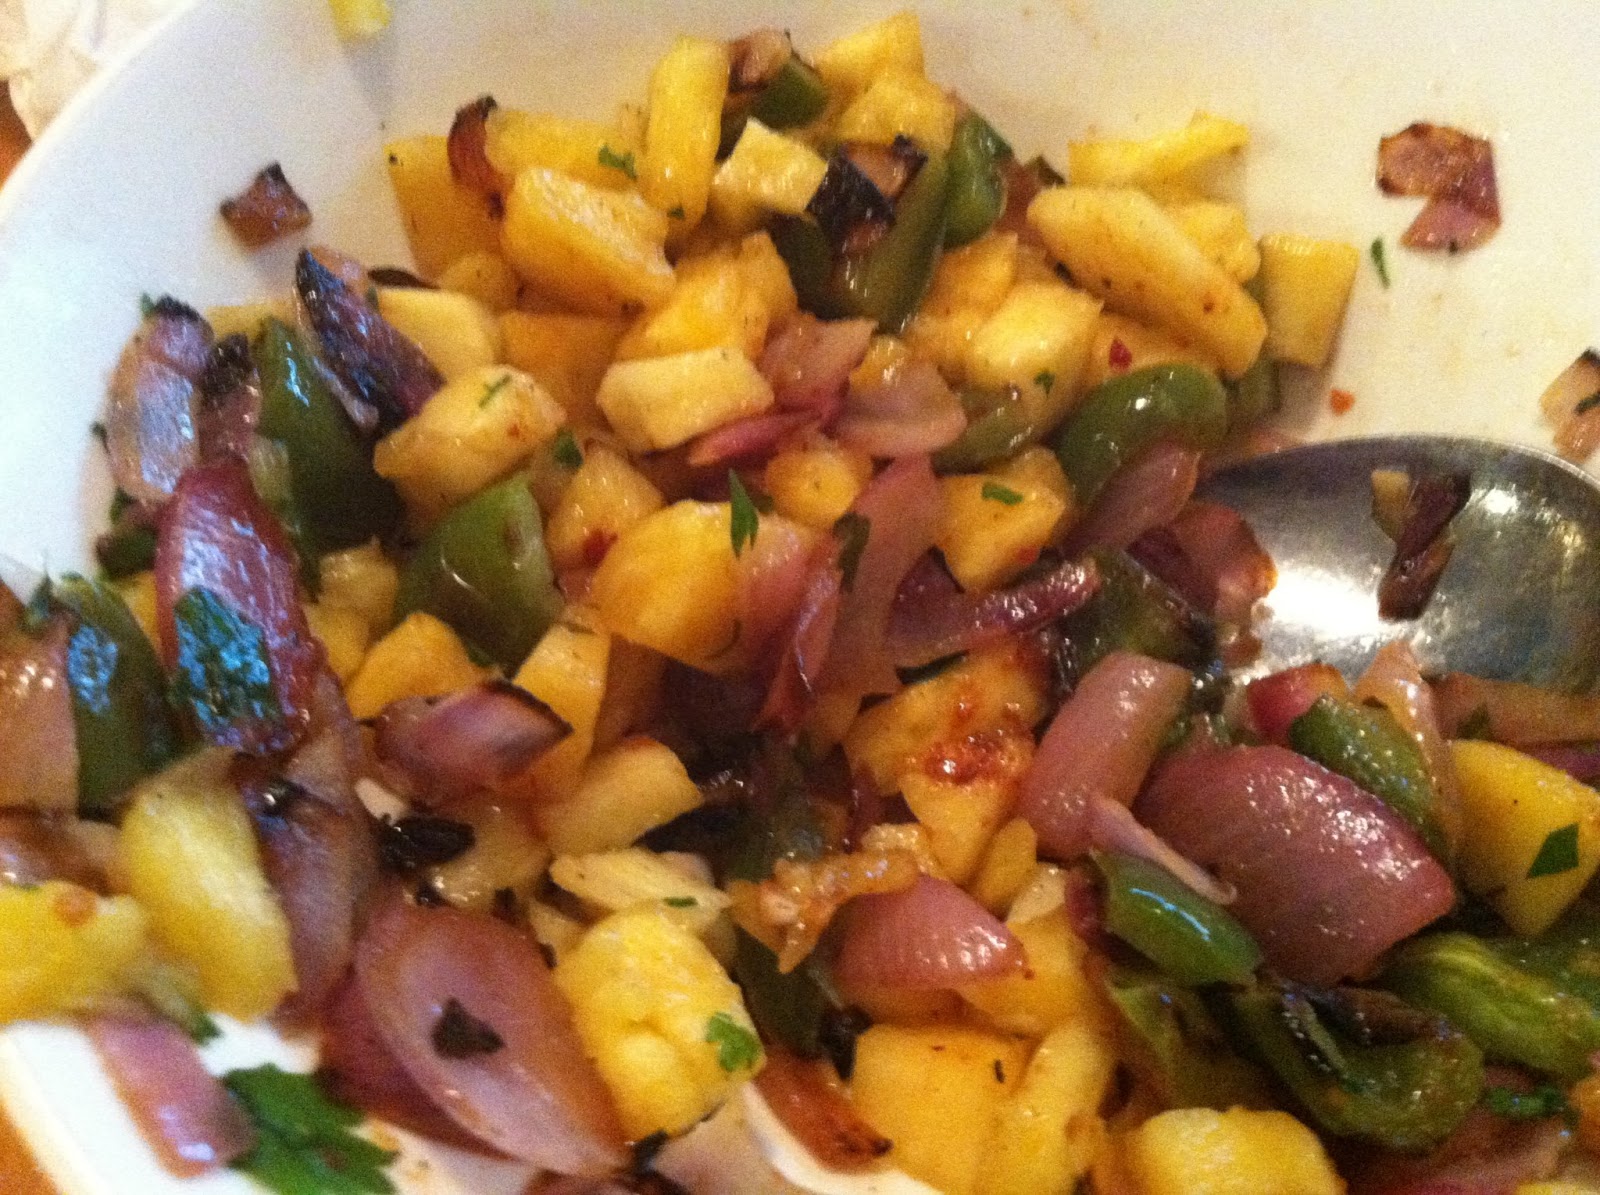
.JPG "Bonny Doon Le Pousseur Syrah")
Big chewy wine.
what does frankincense smell like? (here the blogger is clearly in the Christmas spirit. Typically he might have summoned something like "violets" or "forest floor" to describe the bouquet.)
further thoughts post-dinner
nose: musky. hint of bacon?
taste: blackberry, meaty. chewy, thinking pork (the blogger may be influenced in his description by past Twitter exchanges with @RandallGrahm wherein the winemaker noted that many of their wines have an affinity for pork)
curious how it would age. (drinkable now but I suspect it might be even better in a few years!)
definitely has a spice element that worked nicely w the cumin in the rub.
OK, that was about it in my "night of" notes. Wrapping up now...
A quick note on the steak preparation: when my grill is covered in snow, I prepare the rub with roughly equal parts cumin, garlic powder, salt and sometimes a dash of something else, such as cinnamon or sage. I rub it on the steak, let it sit for about 20 minutes. Then I sear both sides of the steak in a skillet on the stove top, then roast for about 10 to 12 minutes at 400. Gets it to a nice medium rare. Not quite as good as grilled but still quite yummy. And in case it didn't come across clearly enough in my brief notes, I'm definitely adding Le Pousseur to my "wines to get again list"!
It seems my mention of my wine choice being influenced by earlier Tweets with Randall might encourage him to continue his active presence there...a good thing!
@cookingchat And I sometimes have crises of faith in social media...
— Randall Grahm (@RandallGrahm) December 22, 2013One final note of interest on the pairing is that Randall said he typically pairs this wine with "softer foods" which I'll have to try. I'll sign off for now with that tweet, but perhaps will be back with an update with any further insight Randall or others might have on this wine and pairings for it.@cookingchat Well played w/ the Syrah "Pousseur." Normally I like to pair w/ softer meats, i.e. braises, but glad this worked.
— Randall Grahm (@RandallGrahm) December 23, 2013
.JPG "Lineup of Bordeaux")


.JPG "Festive Fall Fettuccine")


.JPG "Key ingredients")
.JPG "Spread for grilled cheese")
.JPG)
.JPG "kale and sausage")
.JPG "Rigatoni with Kale and Sausage")


.JPG)